May contain affiliate links

Not all decorations need to be fancy or cost a log of money to look good. One of my favorite Halloween decorations are simple black frames. They can be used in a variety of ways and are extremely inexpensive.
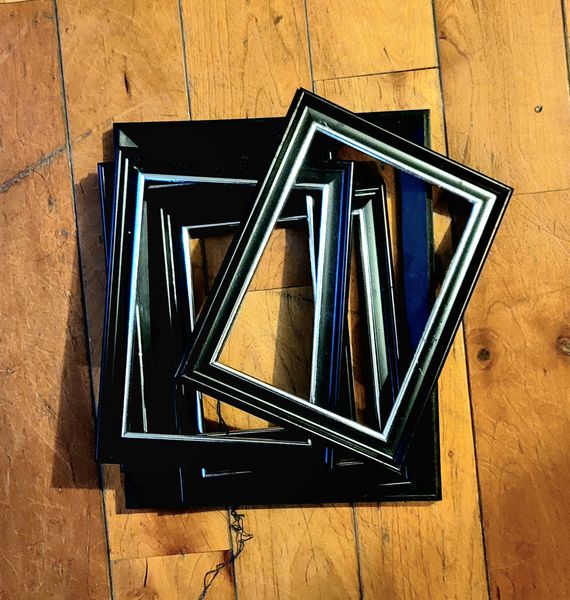
Our black frames were originally used as part of our wedding decorations in 2015. We picked them up at the dollar store and printed names with dinner choices to place on the tables. This helped our guests find their seats and the servers to get the rights meals out to each guest. I thought about selling them in yard sale or giving them away, but they were so simple that I knew I would get some more uses out of them. Over the years I have used them for decoration pieces, labels on the table during BBQs and parties, display items on shelves and so much more. We have definitely gotten our money’s worth out of these dollar frames and as they are on their last legs, we have been using them as Halloween decorations until they are no longer usable. Halloween is the one time of year when broken items are great for display pieces!

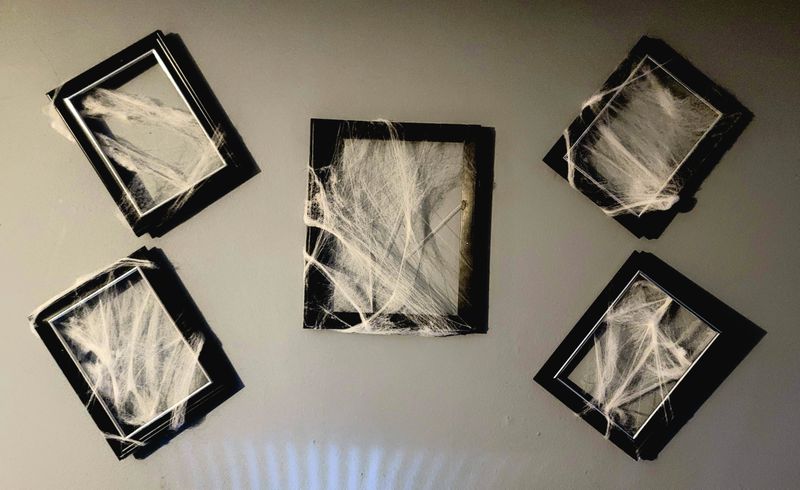
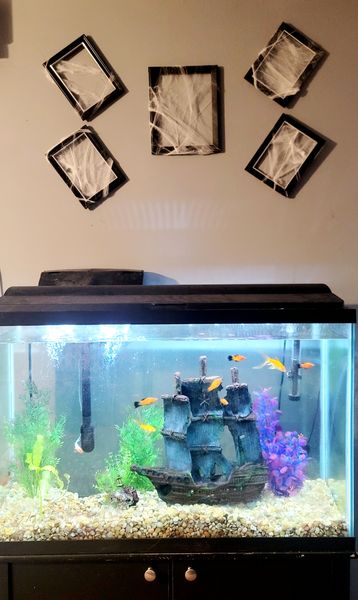
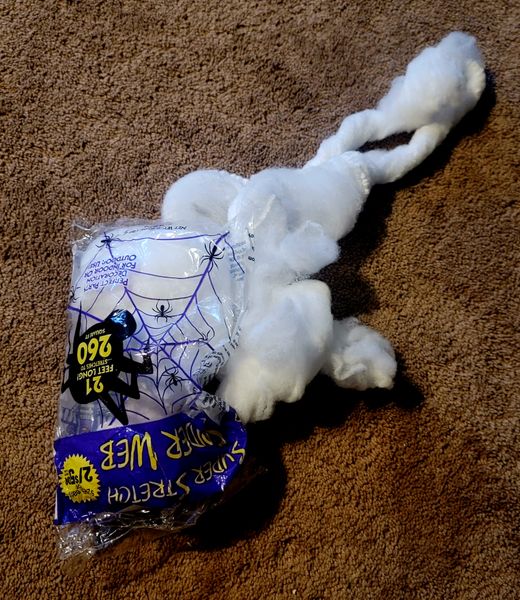
For several years we used these black frames with prints inside. We have done black and white silhouettes of monsters and we have also done colorful (orange & purple) witches and text. The graphics and text are simply printed from the computer and cut down to fit the frame. This year, I am simply lacing the frames with some cobwebs that I picked up from a swap meet vendor for a quarter. This decoration is so simple, but looks great to take up the wall space above our aquarium.

I love when DIY projects take little time and even less expense. By reusing products I already had, we paid only twenty-five cents and have a simple and cute way to decorate a wall space. Do you have frames sitting around that are just collecting dust, but aren’t in a color that really scream Halloween? A simple coat of spray paint is sure to turn them spooky! In fact, don’t just stop at frames, you can spray paint bottles, containers and more to make them more fitted for Halloween! Just remember, if the surface is shiny or very smooth sand a little or use a solid coat of appropriate primer before painting so that the new color sticks.

We hope you enjoyed this simple tutorial about decorating for Halloween! Let us know your thoughts in the comments or on our social media! As always, thank you for reading our latest blog post. We are so happy to have you on this journey with us and we look forward to hearing your thoughts, advice and feedback. Simply, Beth
