So last week we thought about what we are going to grow and thought about the factors that will help us figure out when to start planting and how to start our gardens. (If you missed that article click here). This week I’m going to share some basics about starting seeds well before the snow is not a constant worry and the long before the last frost date is in the same month as the page showing on your calendars.
Note: I will be starting a series of gardening posts, but they will not be every week. I will posting just about the time that I am thinking about my own progress in my garden. This is great for you because the information is fresh and current to the date. If you ever have questions feel free to email me or comment on the blog and I’ll help you get the answers you are looking for.
First of all, why are we starting seeds so early in the year? Well, some plants take a LONG time to mature and reach their harvest date. Either we don’t have the ideal climate for the plant to live start to finish in the ground, or they just have a better chance at abundance when they are started in a controlled atmosphere. Being able to start these seeds indoors, you control the temperature, hours of light and moisture levels they recieve. Feeling powerful? You should, because you are bringing food into the world almost out of thin air. It is pretty amazing.

What supplies will you need to get started? You can start with super fancy and hi-tech tools to start your seeds, but I always suggest starting small. I’d hate to see you spend hundreds on tools and supplies just to find out that starting seeds indoors is not for you. It is one hundred percent okay if it is not, and why I always say to start with the basics. Here are the levels:
- Basics
- Containers and Plastic Wrap
- Seed Starting Mix
- Water
- Sunlight
- Heat
- Tape for labeling
- Seeds
- Middle of the Road (where I am)
- Seed Trays with Lid
- Seed Starting Soil Mix that you Make
- Water
- Grow Lamps
- Heating Mats
- Plant Stakes/Sticks for labeling
- Seeds
- Lover of all things hi-tech and top of the line
- Aerogarden or other indoor hydroponics system
- seed pods meant for hydroponics systems
- water
- LED lighting
- Temperature Control option on equipment
- Label Maker to label seed pods
- Seeds
You will notice that the basics elements are all the same. You need light, water, dirt, warmth, seeds and a way to figure out what is growing. I have done the extreme basics, but over time found that grow lamps with seed trays and lids and heat pads are great for me. It keeps all the seeds uniform and keeps me focused. I do use the Aerogarden hydroponics systems in my home (we have 3 different units), but we use them to mostly grow lettuces and herbs year round. I grow herbs year round so that I can keep my pantry stocked with dried herbs and always have the opportunity to cut fresh rosemary and thyme for recipes when I need it. Start with the basics and as you grow and develop as a gardener see what works for you and go from there.

I live in Zone 6b so I start peppers, tomatoes, eggplant, cabbage and watermelon ahead of schedule. I typically follow the chart below to figure when to start each type of plant, but I do get a little more in detail with frost dates and plant types. The chart shows that tomatoes should be started at the start of April, but I tend to start them in mid to late February. Lessons like this are learned through experience and you will learn them too!
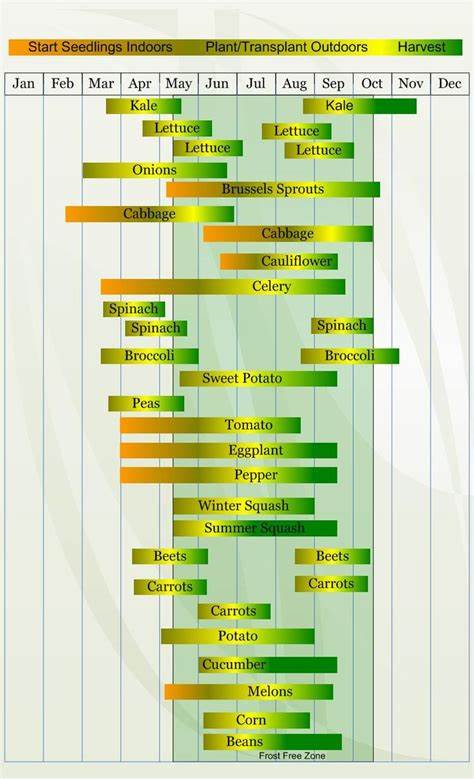
A simple google search of “what to grow when in zone <insert your hardiness zone here>” should show similar images to this one to help you decide what start planting and when. If you can’t find yours, just let me know and I’ll help you find a great resource like the one I have.
When I have time I like to make my own seed starting mix, but I also find that simple starter mixes at Lowe’s or a gardening center work just fine. My recipe includes peat moss, lime, vermiculite and a bit of soil that is already in my garden. I keep bags of them in my shed and mix them together when I start seeds. The recipe I follow is 4 parts: 2 parts peat moss, 1 part vermicultie and 1 part garden soil. I add in a teaspoon or so of lime and mix thoroughly.

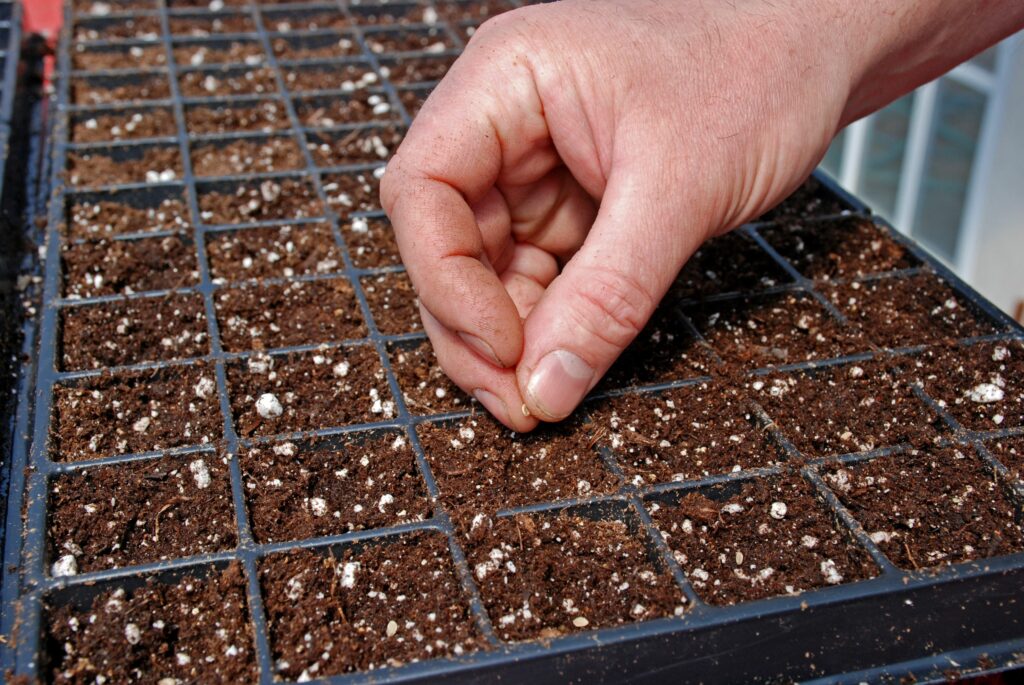
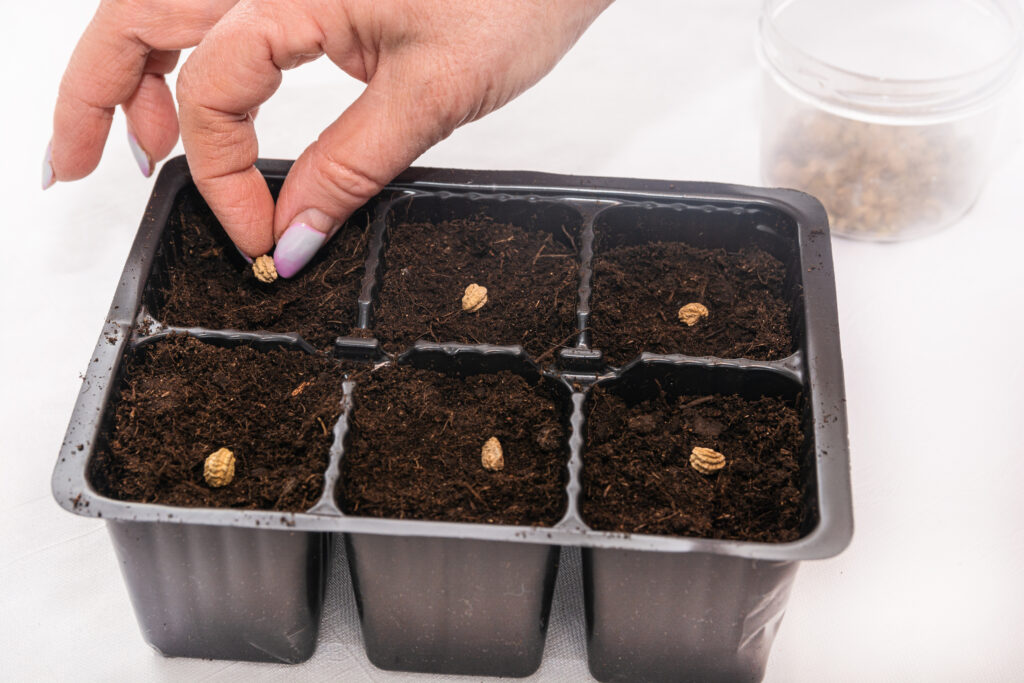
I add the newly made dirt to my seed trays that have a solid layer of water in the base and heated mats under that. Before turning on the heat I make sure to moisten the soil well, add my seed of choice and cover with additional soil. Clean up any mess, cover your seeds (I use a seed tray cover, but plastic can be used) and turn on your grow lamp and heat mats. Clean up your supplies and get ready to do another round soon, or pack it up for later in the season. This is a nice break because you can walk away for a bit. I regularly check that the lamp is still working and heat is on, along with condensation on the cover. This is what is feeding your seeds before we take the cover off.
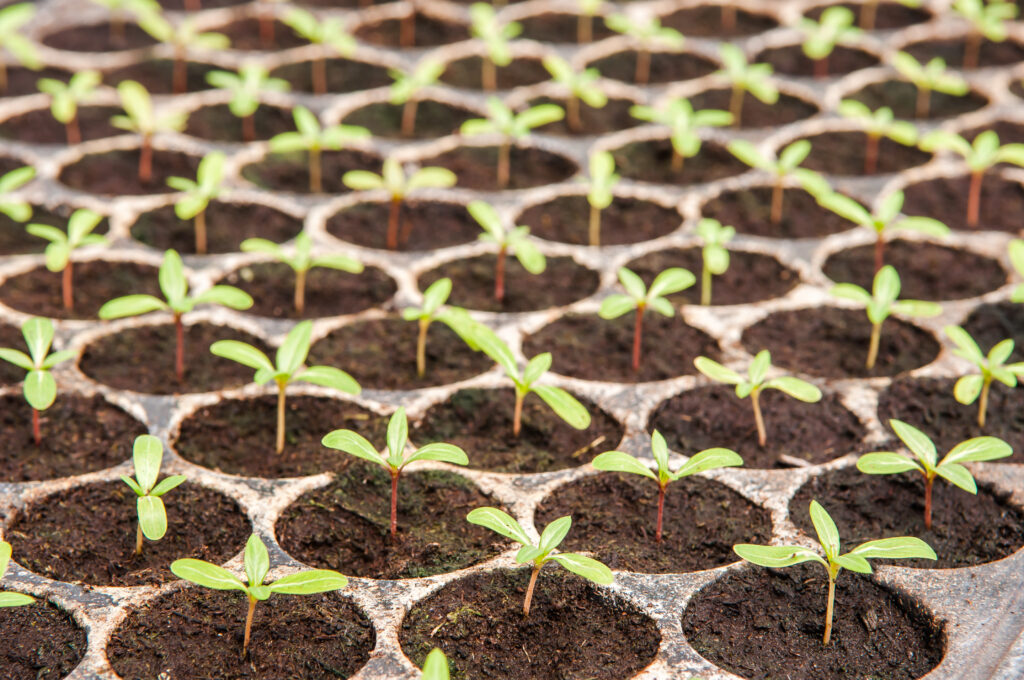
Different seeds take different times to sprout and grow, but I start to remove the covers/lid when the seedlings are pushing the top up. That is when regular checkups are needed to make sure the plants are getting enough water and that things are looking good.
If you don’t have a garage or shed, it can take up a lot of space, especially when these plants outgrow the seed trays. I transplant them to small pots before finally moving out to the garden or their container on the porch. Be prepared to give them the room they need if you want the best chance to be successful.
I hope I didn’t intimidate you with all of this information, because it is a fun technique (and cost effectifve way) to add to your gardening. As always, thank you for reading and following along in our journey.
Simply, Beth